 |
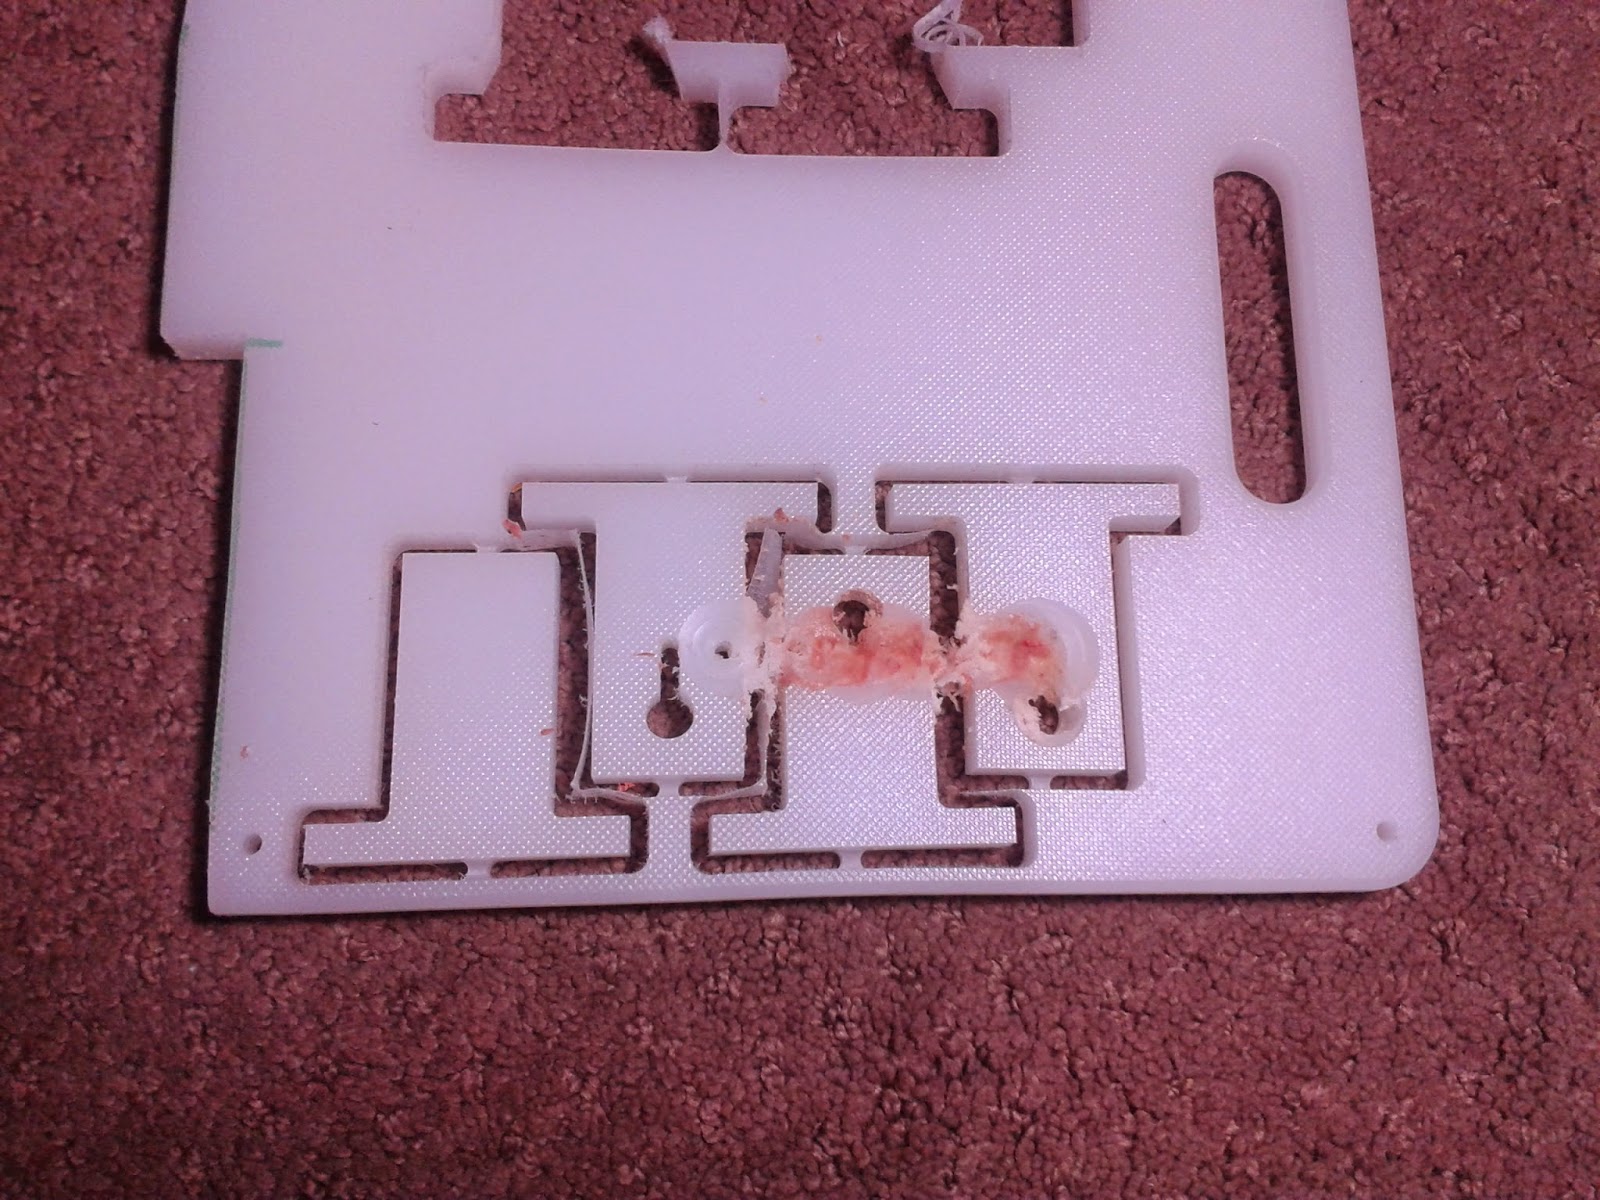
| Brown area is where the Z-axis failed |
 |
| Between pipe clamp and motor tubing came off |
The parts I was cutting were supports for the Y-axis guide rods for the 3D Printer I'm building. Initially I designed and cut them out of a white HDPE (plastic) Kitchen cutting board but I did not take the stepper motor dimensions into account and they were to short.
 | ||
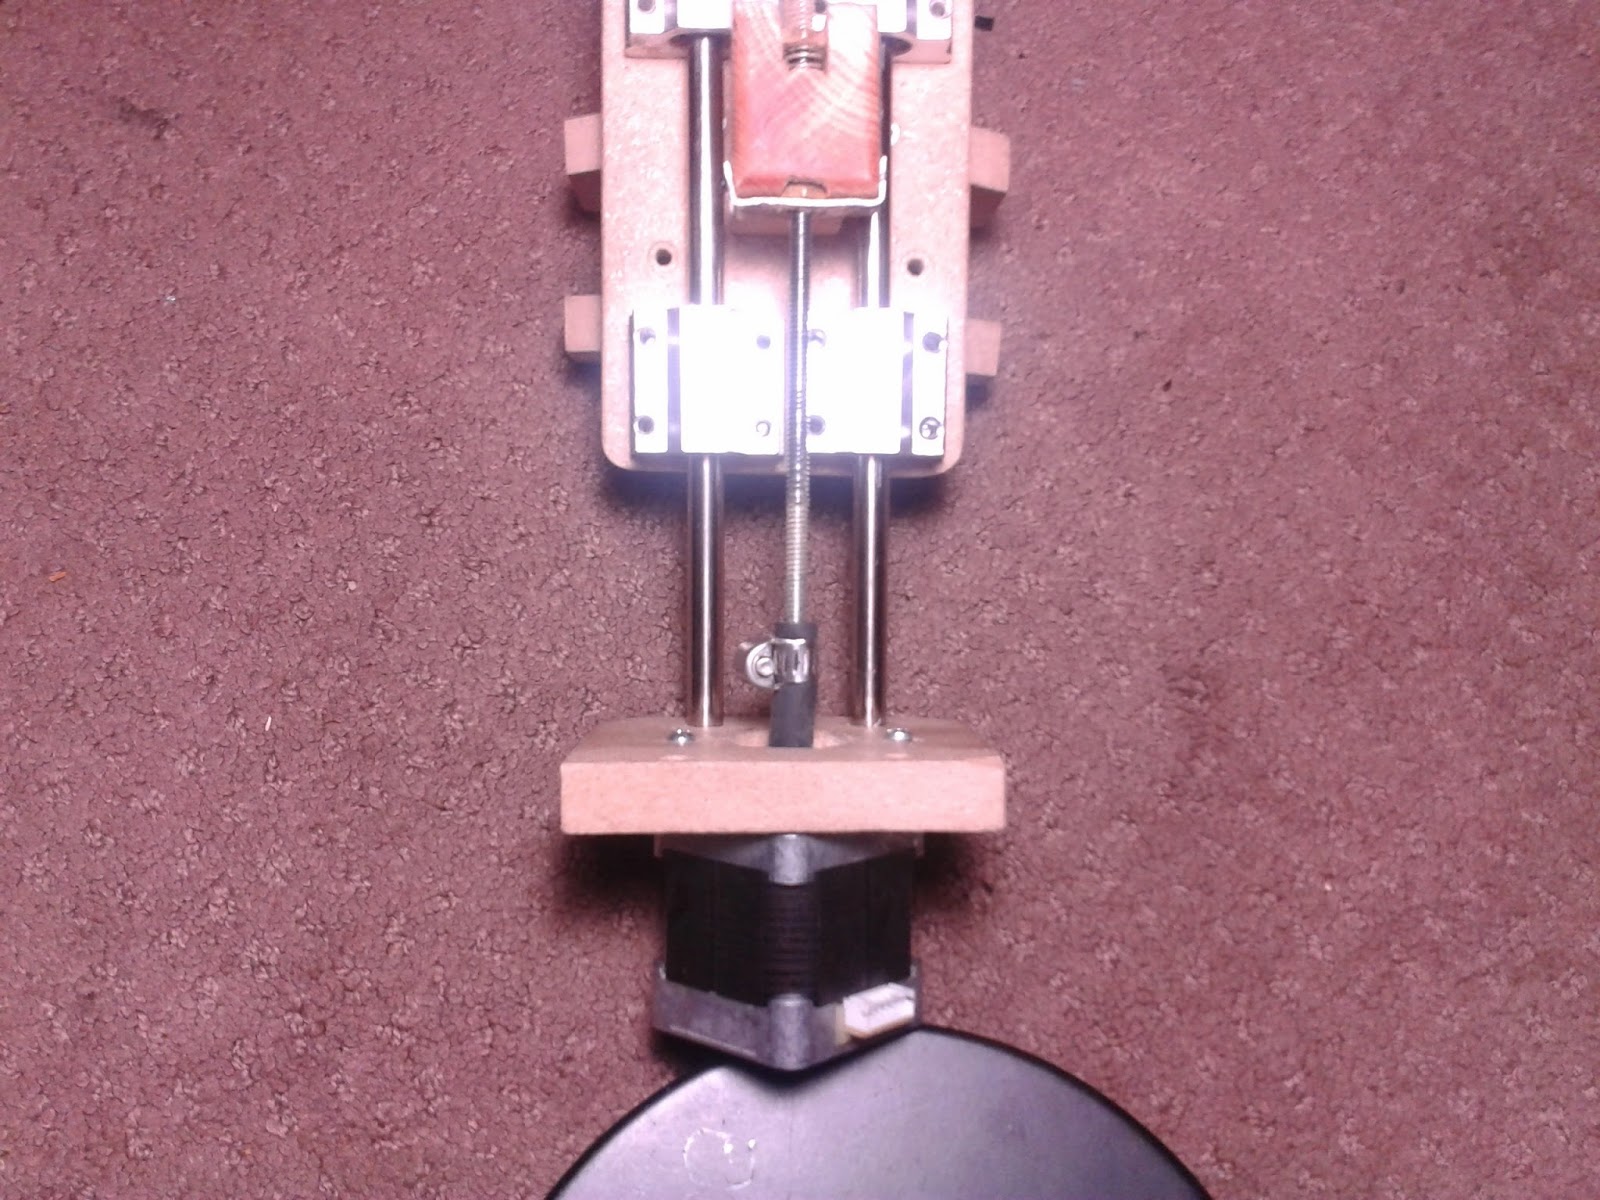
| Initial guide rod mounts |
Mother's Day Present (still working on it...)
Prior to this equipment failure, and subsequent repair, I was able to do a bit of glass etching with my desktop cnc. My goal was to make an etched glass edge lit display/sign for my wife for her new Nut Free Bakery (Callie's Cuties).- I did the initial design in Inskape converting image files of the logo etc. (to keep it simple I made sure to use inches for units in Inskape - more on this in step 5). These then I resized and then used "Trace Bitmap", located under the "Path" tab. After making sure that everything was converted to a "Path" I saved the file.
- After opening a web browser window I went to MakerCAM.
- Before opening my Inkscape ".svg" file in MakerCAM I clicked in "Edit - Edit Preferences".
- In the "SVG Import Default Resolution Box" I changed it from "72" to "90"
- I then clicked on the "File - Open SVG" and selected the file I wanted on my computer (to keep it as simple and straightforward as possible keep the settings set to inch, in the upper right of the MakerCAM window - if you must use mm you will need a Python extension to truncate the measurements from Inkscape to 4 decimal places, this is automatic in inches, because GRBL cannot handle more decimal places than that).
- After my file was imported I did some additional editing (mainly cutting out unwanted parts).
- Time to select each object (left click/hold and drag) and then select "CAM - Follow Path"
- For each of these I set my depth to 0.01" with a pass depth of 0.01" and plunge and feed speeds at 14.
- After it all looks good select "Calculate All" under the "CAM" menu.
- Now it is time to export the G-Code. Select "Export G-Code" under the CAM tab and save your file.
- IMPORTANT: Open your exported file in a text editor and add "%" at the beginning and end of the file (this is not done by MakerCAM but is needed if you plan to use Universal GCode Sender)
- The bit I used was a diamond coated dremel bit for glass etching/engraving. To keep things cool I used a spray bottle filled with water and sprayed the bit as it cut.
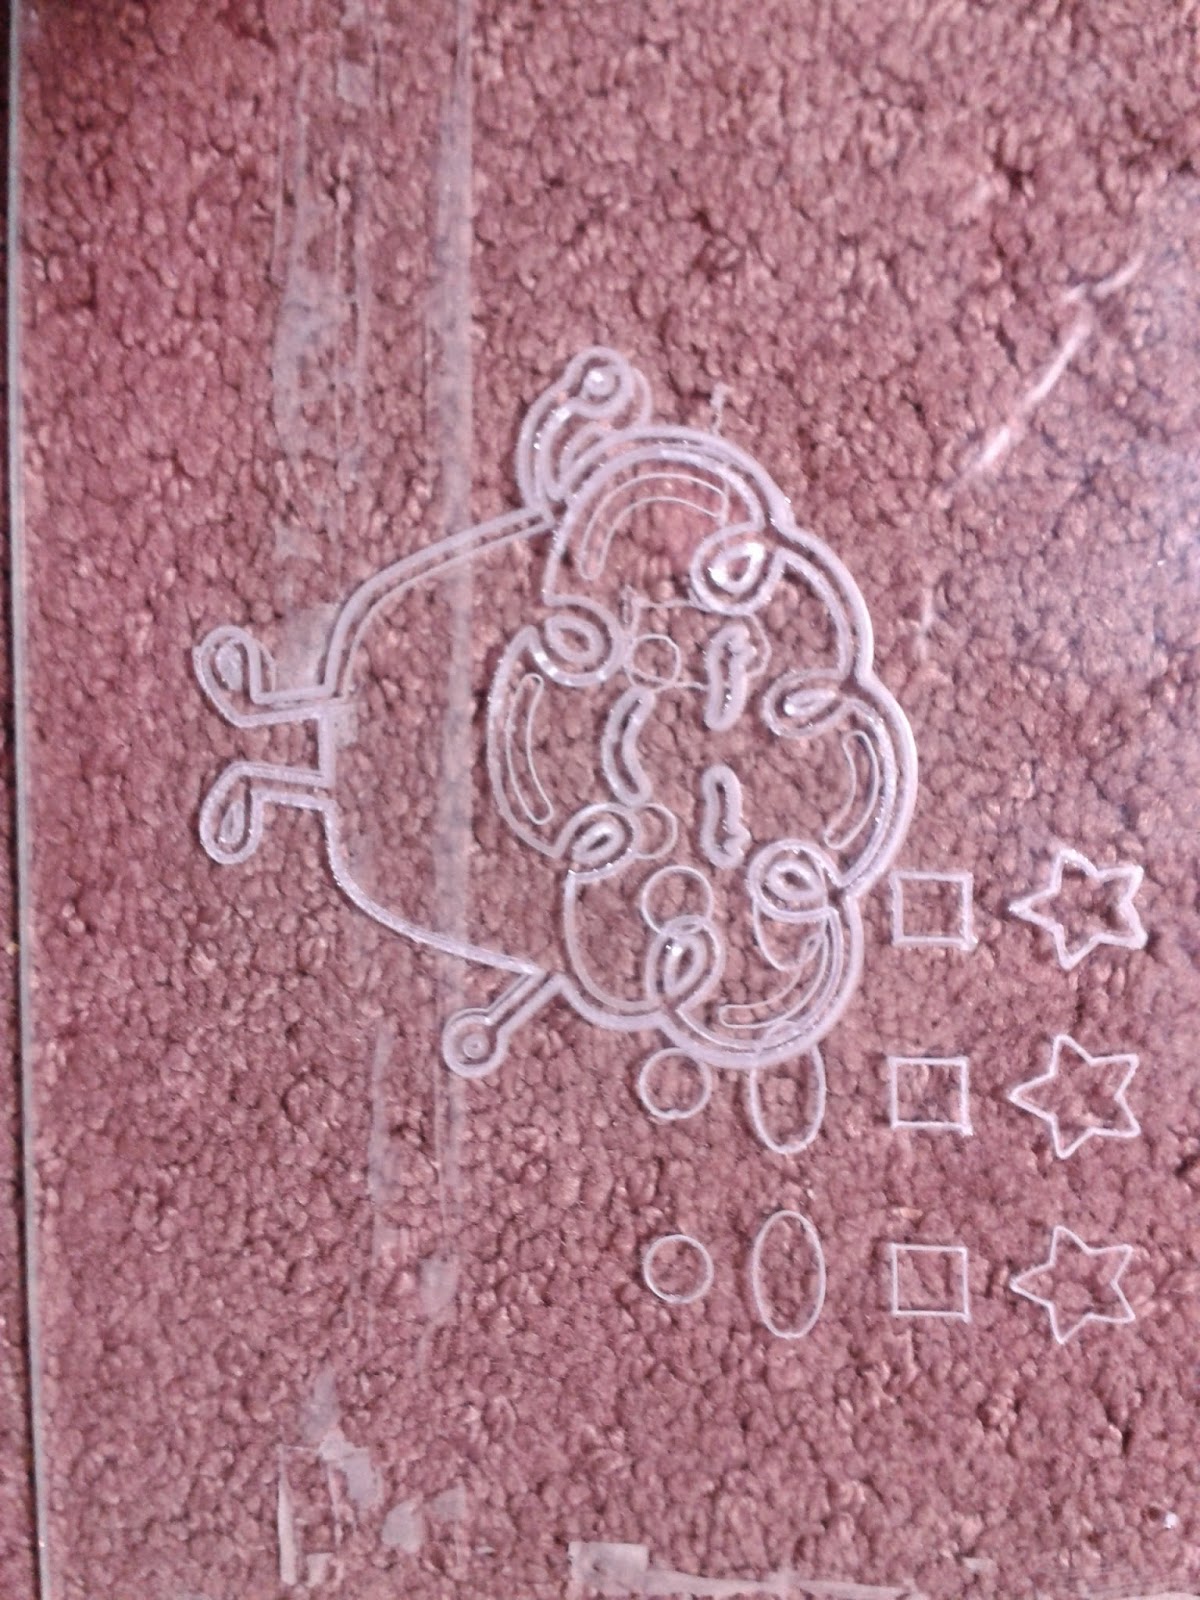 |
| First test piece |
After my initial tests I tried to cut my complete design:

In an attempt to make things a little easier I tried building a clay dam around the area to be etched and filling this with water to keep the bit and the glass cool:

Below is my best run, which was messed up by my poor skill in glass cutting (I only taught myself how to cut glass last week).

No comments:
Post a Comment