Monday, March 16, 2015

Project 3D-Printer and Project CNC - An Update - FINALLY

My DIY 3D-Printer is fully functional (in case you haven't seen my twitter posts).  If you want to check out recent prints or files you look at my stuff on My Thingiverse Page.
State of printer 3/16/15
Changes and additions I've made to my 3D-Printer since September 2014:
  • PCB heated bed
  • moved from single PSU to 2 PSU's needed a separate one to supply the bed heater
  • Relay board added to switch bed heater on.  Pulled signal from gate pin of MOSFET on RAMPS board and wired to a switching transistor and relay
  • Increased to full size bed (250 x 250 x 300mm)
  • Switched to DRV8825 stepper driver boards (produce less heat as well as handle higher current)
  • Hot End - began with a J-head lite, switched to J-Head, now using the E3DV6.
  • Numerous iterations and re-designs of my direct drive extruder
Changes/additions planned:
  • changing all axis to 1/4" - 16 Acme thread rods (feel like it is more dependable since belts need to be checked a lot to ensure good tension)
CNC is finally rebuilt and running.   GRBL updated to version 0.9, Universal-G-Code-Sender updated to version 1.
CNC rebuild 3/16/15

Work on CNC left to be done:
  • calibrate x, y, and z axii
  • mount skate bearing to hold lead-screws on x and y axii
  • add lateral stabilizing to spindle mount
  • enclose and mount control board and PSU
I am now tutoring/teaching math at the Joliet Montessori  Adolescent House and tutoring math a few days a week at the Plainfield Mathnasium.

Monday, September 29, 2014

Project DIY 3D Printer Finally Working

I've been working since the Mokena Maker Faire to get this printer functioning and I've finally done it and here is a picture of it:
I thought it would be working by the time of the Faire and when it wasn't I thought it would just be a few days.  Instead it's been a few weeks and I've had to tackle one issue/problem after another.

Here are some close ups of the extruder and hot end:


Yes, that actually is tape holding the fan on for the hot end.

Below you can see that I desperately need some wire management - I've left that until I got it working since I've needed to constantly change and adjust parts.

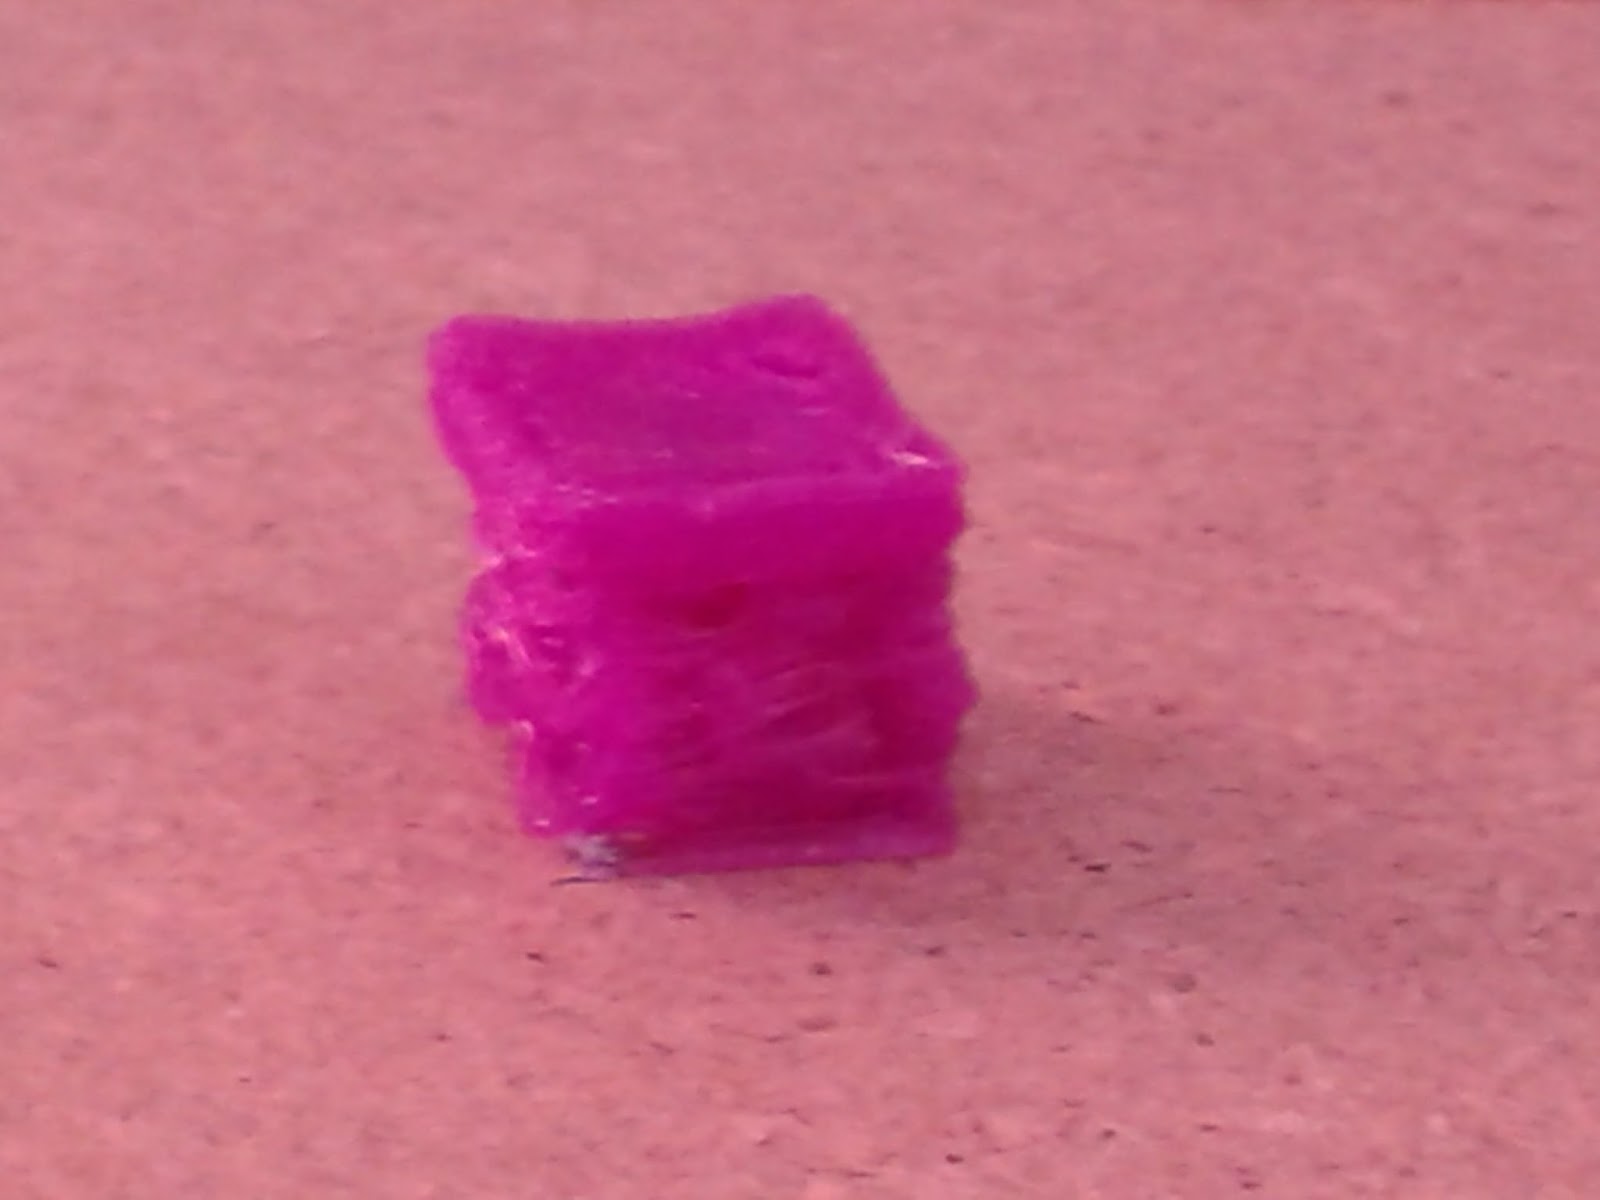
Now for my very first, semi-successful print (a 10x10x10mm cube):
 And a progression of adjustments:
The last pic was a test print of a toy for my daughter.


Monday, September 15, 2014

Mokena Mini Maker Faire Pictures

I don't have many pictures and I actually didn't think about taking any until everyone was beginning to break down.  Actually, some exhibitors had already packed up and left, along with the crowd we had earlier in the day.

The day turned out to be great, though it started out cold and windy in the morning.  Steadily, more and more people came out to the point of being pretty busy and the day pretty much flew by.  I learned a lot talking to other exhibitors as well as from people who came to my booth.

I can't wait till next year.

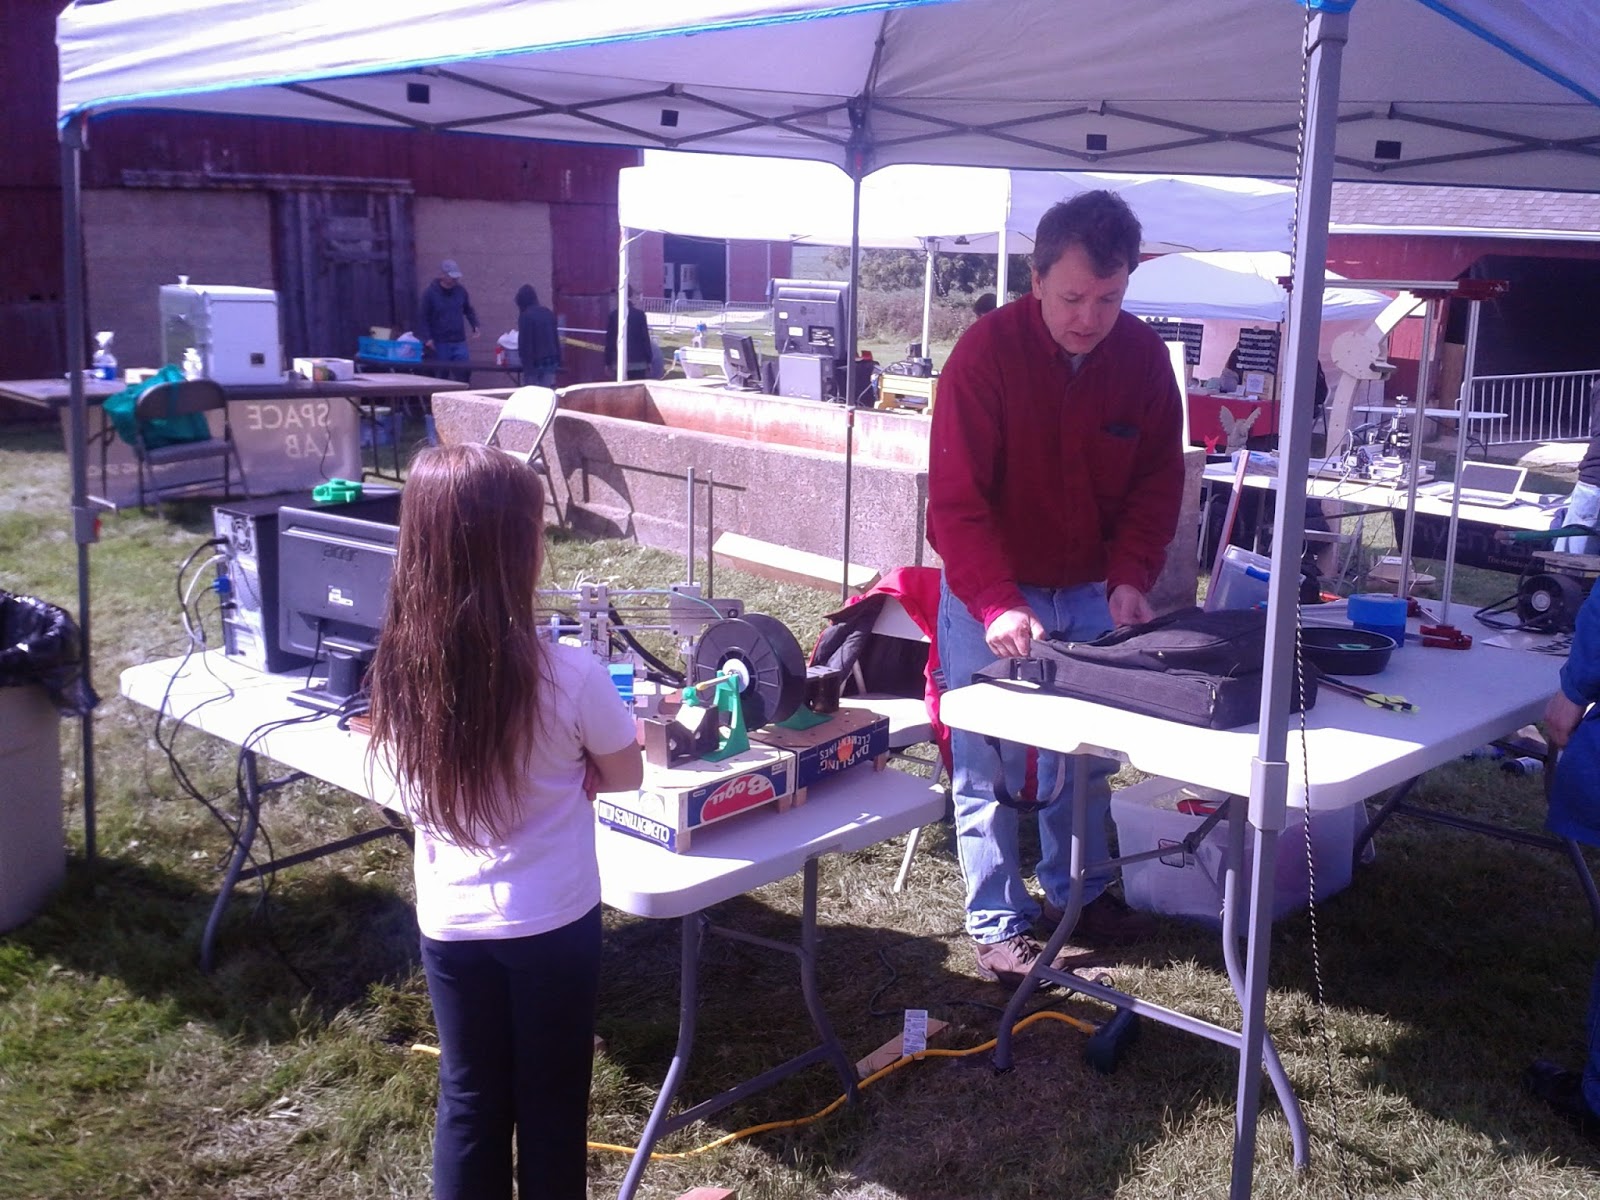
Pictures below: (first pic is my little booth, with Callie hidden behind my desktop CNC)


Links for some other articles and websites about the 1st Annual Mokena Mini Maker Faire:
I wish I had gotten more pictures earlier in the day so I could have caught everyone there as well as all the other exhibitors that I missed (you can check out a list here)

Saturday, September 13, 2014

Updates up tomorrow - 3D Printer, Desktop CNC, Maker Faire

I've been so busy, between working and, trying to get my 3D Printer up and running I haven't had any time to post  (other than on Twitter).  I'll be updating on my build progress along with pictures from today's Mokena Mini Maker Faire (where I exhibited my DIY Desktop CNC and 3D Printer builds)

Monday, September 8, 2014

Project 3D Printer - Oh No!!! I released the magic smoke from Arduino Mega and Pololu

Made a lot of progress Saturday on my 3D Printer build. Sunday I focused on configuring the Marlin firmware on the Arduino Mega and getting all the electronic components working correctly:
  • verifying that each axis getting power
  • dialing in current settings on the stepper drivers
  • making sure that stepper directions are set correctly
  • hot end and temp sensor working correctly
I tested using Pronterface (this was my first time using it, checked tutorials later but learned nothing new – the interface is very understandable).
  • able to move x and z axis
    • x-axis moves in opposite direction
      • Inverted the movement direction for x axis in Marlin firmware and now it moves in correct direction
    • z-axis moves but not well
      • increased current to steppers using trim-pot on Pololu board to max current (I did try decreasing also but no movement at all at lower current) and it moves more reliably
  • no movement on y-axis
    • doesn't seem to be getting any voltage – can turn motor with no resistance, even when sending moves in opposite direction.
  • Extruder moves when stepper driver is set at max current but with very little force (light pressure from 1 finger stops rotation)
My main goal Sunday to figure out why the Y-axis is not moving/ getting power. I tried connecting the Y axis motor to the X axis controller (using the original Y axis wiring) and the motor works. Testing the Y axis controller with other stepper motors resulted in no movement. Switching out driver boards – still no movement on Y axis.

To get a cleaner test I removed all wires/plugs/boards from the RAMPS board (including the Arduino Mega) and carefully re-connected everything (or so I thought).  Once I was done re-assembling everything I switched on power to the board and... POOF the x-axis stepper board let out smoke and my computer shut  down.  I instantly cut the power off but I was to late.  On close inspection of the stepper driver board I saw that I had plugged it in incorrectly (2 pins were hanging off the end).  It turns out that not only did I kill the stepper board I also rendered the Mega useless because the USB-to-serial converter on the board got fried, so I can power the board but serial communication is essentially gone.

I guess I've earned another one of these badges http://www.adafruit.com/products/565

I ordered a new Mega board and another RAMPS board (just to be safe since I can't test the one I have).  I think I need a higher voltage PSU to power the stepper motors that I have (minimum voltage for them is 12V) but the  good news is that since I am not using a heated bed my total power requirements are lower that I thought.

Saturday, September 6, 2014

Project 3D Printer - Hope to be up and running calibration prints in the morning

I've been hard at work, with what time I've had, getting this printer build up and running.  Over the 2nd half of this week I've completed the following:
  • Finished X-axis shuttle, (I re-cut it in HDPE but it took awhile since a number of cutting attempts failed)
  • Attached upper brackets for z-axis guide rods and lead screws to upright frame
  • Soldered female headers to end stop wires (had hoped that I had molex connectors that would work but the ones I have are not slim enough to fit on the headers).
  • Designed and cut end stop holders, and secured end stops to holders with #2 machine screws
  • Glued together acrylic for extruder mount to x-axis shuttle and attached to shuttle
  • Designed, cut and mounted drive belt anchor for x-axis shuttle and secured belt to anchor with zip ties
  • Attached bearing mounts for y-axis guide rods to print bed
  • Mounted guide rod supports for y-axis to base of printer
  • Mounted y-axis skate bearing mount for belt drive to machine base
  • Designed, cut and mounted new y – axis stepper motor mount to machine base
  • Finished initial configuration of Marlin firmware
  • Flashed initial configuration of Marlin to Arduino Mega 2560 using Arduino IDE version 0023
I'll be back in the morning with more updates and some actual pictures.

Sunday, August 31, 2014

Project CNC making parts for Project 3D Printer

Successfully installed new lead screws, new bed and new spindle mount on my CNC. Did a rough calibration of the x and y axis, manually leveled the bed and then fine tuned the calibration for all 3 axis.


My top speeds for x and y axis are fairly high but z axis is still the limiting axis. Any faster than about 14in/min and the z-axis stepper squeals and stutters – resulting in a lot of missed steps. After a bit of research I found a few issues that may be causing this:
  1. stepper motor resonance
  2. lead screw (likely to be less of a problem when I change to acme screw on z-axis)
  3. GRBL
Some good links on this issue:

It looks like I won't be able to get faster moves until I finish my rebuild of the frame and spindle mount/carriage (including swapping the z-axis lead screw with an Acme screw). I have tried tweaking the acceleration and max speeds but when I push it a bit for better performance the Z-axis seems to loose steps when retracting resulting in a number of pocket cuts being to deep.

Finally done with both sides of the Z-axis on the 3D Printer and will be cutting out the X-axis shuttle

Cutting X-axis shuttle tonight, tried this afternoon and GRBL stalled (first time ever).  Already re-cut acrylic for mount for extruder out of acrylic.  Lining up printer bed on Y-axis and designing cuts for securing drive belts on X and Y axii.