Showing posts with label hacking. Show all posts

Sunday, June 17, 2018

Heating element testing


I decided that I would finally test a 10cm length of 36 AWG nichrome wire with a current limited supply of varying voltages.  Since my windmill generates under 1 Amp of electricity I decided to use an LM317 integrated circuit to fix the current at a max of 220mA.  I put an LM317 in a bread board and attached its output to a 10cm length of 36 AWG nichrome wire (from the hair curler heating element).  Below is the circuit diagram for my LM317 set to limit current to 220mA:

Using the LM317 as a current limiter
Need to connect the 3 terminal chip as below:
     pic

To calculate the resistance that you need to limit the current to what you want:
     formula

In an effort to maximize the effectiveness of the heating element I decided to test different thicknesses (or gauges - higher the gauge thinner the wire) of Nichrome wire to see which would work best (produce the most heat with the power produced by the windmill - just under 2 watts). With this in mind I ordered 40 and 38 AWG Nichrome wire from Jacobs Online . They mainly sell Nichrome wire for making foam cutters and igniters for model rockets (the larger scale rockets). They are fairly inexpensive since you can order lengths as short as 10 feet – for $6 I got 10 feet of each of the 2 sizes I mentioned before (if I had wanted 100 feet of each I think it would have only cost me around $12 – better deal but I just don't want all the excess around).

Some basic notes on Nichrome wire:
  • higher gauge (thinner) = higher resistance per unit length and heats up at lower power (less current)
  • coiled wire produces higher temps than straight wire (with the same voltage and current)
More in depth info on nichrome wire take a look at the Wikipedia Page for Nichrome Wire

Resistivity of 1 foot straight Nichrome wire at room temperature:
AWG Ohms
40       70.2
38       42.2
36       27.0

Need some type of temperature resistant insulation between the wire  and the aluminum casing to prevent shorting out the current to the wire (do not want the wire in direct contact with the aluminum since it also conducts electricity). Insulation: Mica sheet, fiber glass fabric (welding supply, car body work with Bondo)

Ni-chrome Wire Calculator
Gives you some ideas of what you need even though the lowest temperature on the calculator is 400 degrees Fahrenheit.

If average wind speed is 15mph – which produces 220mA at about 9volts. That gives us our average power available. Ohms law states V=IR rearranging we get R=V/I:
R = 9v/0.220Amps
R = 40.9 Ohms

So, with the windmill running with a 15mph wind producing 9 volts with 220mA (which is just under 2 wattS – P=9v*0.22A) if we use a length of wire with 40.9 ohms resistance it should use up all the power. Yes, I know its not perfect reasoning since resistance increases with increasing temperature in the wire but I'm just trying to get an idea of what I need before I begin trying things.


Tuesday, July 12, 2016

2016 Hackaday Prize, moving into round 4

So far 3 of the 5 rounds for the Hackaday Prize 2016 (this years theme is - "Build Something That Matters") have finished:
  1. Design Your Concept (March 14 - April 25)
  2. Anything Goes (April 25 - May 30)
  3. Citizen Scientist (May 30 - July 11) just finished, no results yet
 The top entries for rounds 1 and 2 are listed below:

The top 20 projects of theHackaday Prize 2016 "Design Your Concept" challengeare:

The top 20 projects of the 2016 Hackaday Prize "Anything Goes"challenge are:

The Citizen Scientist Challenge (Round 3) just finished yesterday and that marks the start of the Home Automation Challenge (Round 4), to be followed by the Assistive Technologies Challenge (Round 5) which is the last round before finals.

In the next few days we should have news of the to 20 projects in Round 3, that will be added to the list of the top 100 projects going into the Finals.

My 2 entries to the Hackay Prize 2016 (Universal Glucometer and Train Your Brain) have not yet made it to the top 20 of any round so far ( ;( ), but I continue to work on them both.

Wednesday, April 13, 2016

Hackaday World Create Day 2016 and Hackaday Prize 2016


Only 1 week from this Saturday, on April 23rd, it's:

I'll be hosting a Meetup in Plainfield, IL at the Plainfield Public Library to meet and brainstorm ideas for entries to this years Hackaday Prize. Plainfield, IL World Create Day

From Hackaday.io:
Create tech solutions for social change on Hackaday World Create Day, our worldwide brainstorming session for the 2016 Hackaday Prize design concept challenge! Join teams from around the globe and submit ideas for projects that solve problems in categories from citizen science to assistive technologies, or anything else that leverages your hardware, coding, scientific, design and mechanical skills.
We’ll be picking the most spectacular design solutions to share on the Hackaday front page, and there will be prizes. But we also want to celebrate the fun of getting together in person with all of the people who make Hackaday a part of their daily ritual, so share your photos and ideas with hashtag #WorldCreateDay!

The Goal:

Form a team (or work on your own) and submit a project to the Hackaday Prize design challenge. See challenge details here: https://hackaday.io/prize/details#one
Need some inspiration for your project? Here are some ideas:
  • Citizen Science - Build a graphene supercapacitor, study the effects of a behavior, build an open source instrumentation device.
  • Automation - Build a device that makes breakfast or buys laundry detergent when you’re running low. Automatically track stuff, automate any process, build a Me-robot to do your every whim
  • Assistive technologies - Build a project that helps others move better, see better, or live better. Whether that means exoskeletons, a better wheelchair, a braille display, or educational software, we want to see it.
  • Or any other idea you have to hack for social change! Leverage your talent and find solutions to address technology issues facing humanity today.

Beyond Hackaday World Create Day Meetup

Hackaday World Create Day is a single event, but your meetup can live on if you want it to. We can help with ideas for future meetups of your group. This is a great way to show that the Hackaday community is alive and thriving in your part of the world. Maybe our next big event will be held in your city!


Wednesday, August 26, 2015

Chicago Southland Maker Faire 2015

The Chicago Southland Maker Faire was held just this past weekend.  The weather was perfect and there was a great turnout for the event (both in terms of exhibitors and attendees).


My Tesla Coil Exhibit

Cool Star Wars cosplay


Worshop88 Pen Plotter


Virtual Sandbox

Electric Racers

Overview shot from back

SouthWorks Maker Lab Network

 To see more info on  classes, etc. check out SouthWorks Maker Lab Network
Telescopes from Spacelab


Chicago Southside Maker Faire 2015

In an attempt to catch up from the past month or so, I'm posting a good number of posts over a short period of time,  For the first - Chicago Southside Maker Faire was held just a few weekends ago (Aug. 8th) at Ford City Mall.  Just like last year, I got lost on my way there (due to me and Goggle Maps).  My daughter and I did arrive before noon but only had about an hour to check out everything (not enough time) since I had to get her to a party for her school

Anyway, here are some photo's of the event:


Saturday, May 16, 2015

Project Theramin - Success... Finally!!!

 I've researched Theremin's quite a but over the past few years, in an effort to build my own.  Theremin's have a distinctive sound and I've always liked it even when I didn't know what instrument made the sound.

I recently completed a Theremin build,  I tried building this particular Theremin 3 times in the past (once on bread board and 2 times on perf board using the wire wrap method), I hayd temporary success on bread board and no success with wire wrap.  I set everything aside for about a year and focused on other projects.  As I got better at building and troubleshooting I came back to finally conquer this build.


This Theremin is based directly on Art Harrisons Minimum Theremin.

 I made a few, very minor, changes to the circuit:
  • Substituted an LM7805 voltage regulator for the one used in the circuit (the pin out is a bit different)
  • Added a power indicator LED
Instead of making this a straight sterile build I wanted to add a bit of style to it. My goal was to make it a bit like a Steampunk version.  As a result, I wanted it to look old and used while still looking fully functional.

Finished Theremin

Theremin Antenna
 It did take me awhile before deciding on the cord attachment to the antenna, after aremad bit of trial and error (and some research) I decided to use boot laces as a jacket for the connecting wire (looks similar to antique braided cloth wire jacketing).
Housing for Theremin
 The box I used to house this Theremin was a simple box from Micheal's craft store.  I removed all the hardware,  remade the front panel, added new "antiqued" brass plated hardware.  Also, sanded, primed, painted and polyurethaned all the outside surfaces. 
Theremin Circuit board

Antenna Connection

Rear of Box


Hooked up to Guitar Amp

Thursday, May 14, 2015

Hackaday Prize

I've liked the Hackaday site and the Hackaday Prize for quite a while.  They are wonderful sources of new ideas and inspiration.

The 2015 competition opened two months ago (when I originally wrote this post) and the focus is on ideas that address important issues effecting lots of people.

 I've been brainstorming ideas for a project for the competition and areas I've focused on are:

Water
  1. Solar purification/desalination
  2. Collection techniques - reclaim from air, rain, etc
  3. Potability measurement device (determine if water is safe to drink)
Diabetes
  1. more efficient bG testing/measurement
  2. bG testing method without strips
  3. bG testing method without using lancet (no finger pricks)
  4. open source/hardware meter that can utilize multiple strip types
Food Allergen  detection/alert to warn of potential hazard (for anaphylactic level allergies)
  1. methods for detecting allergens
  2. protein based allergens
  3. other types
 Smart phone medical lab
  1. what data can we collect?

Monday, September 15, 2014

Mokena Mini Maker Faire Pictures

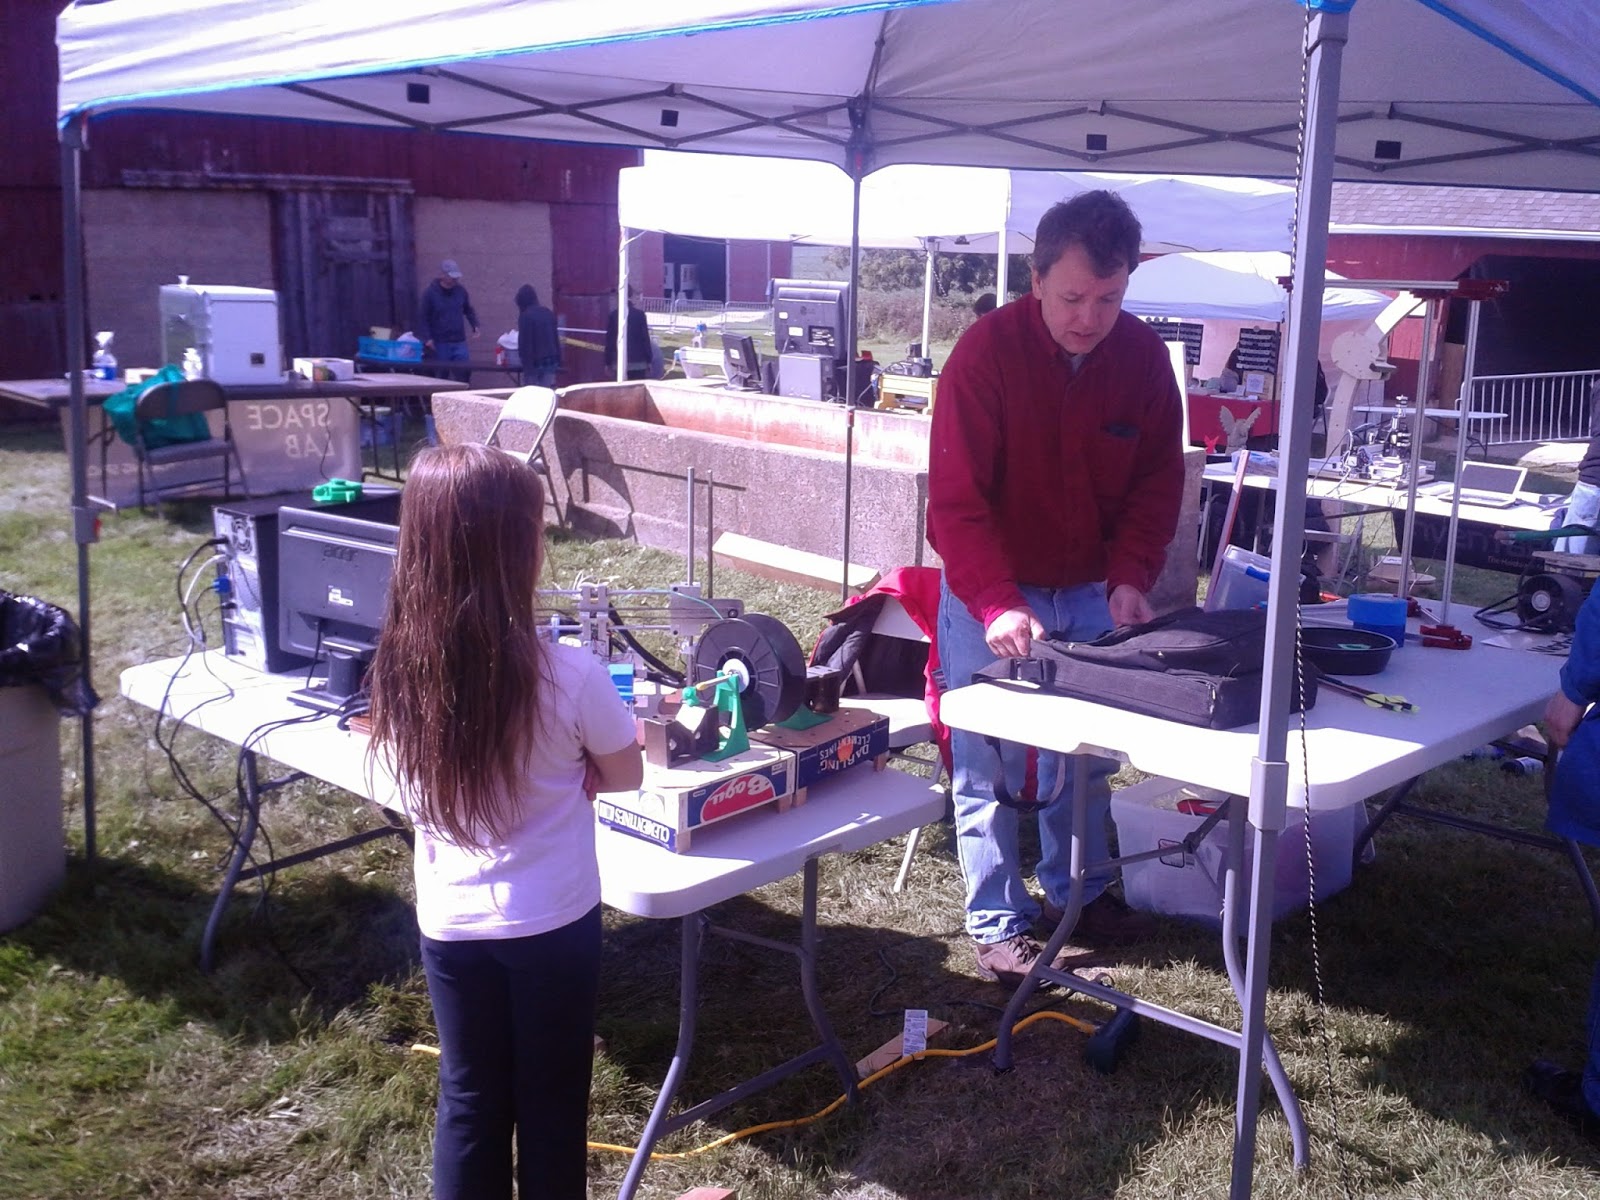
I don't have many pictures and I actually didn't think about taking any until everyone was beginning to break down.  Actually, some exhibitors had already packed up and left, along with the crowd we had earlier in the day.

The day turned out to be great, though it started out cold and windy in the morning.  Steadily, more and more people came out to the point of being pretty busy and the day pretty much flew by.  I learned a lot talking to other exhibitors as well as from people who came to my booth.

I can't wait till next year.

Pictures below: (first pic is my little booth, with Callie hidden behind my desktop CNC)


Links for some other articles and websites about the 1st Annual Mokena Mini Maker Faire:
I wish I had gotten more pictures earlier in the day so I could have caught everyone there as well as all the other exhibitors that I missed (you can check out a list here)

Saturday, September 13, 2014

Updates up tomorrow - 3D Printer, Desktop CNC, Maker Faire

I've been so busy, between working and, trying to get my 3D Printer up and running I haven't had any time to post  (other than on Twitter).  I'll be updating on my build progress along with pictures from today's Mokena Mini Maker Faire (where I exhibited my DIY Desktop CNC and 3D Printer builds)

Monday, June 23, 2014

Project CNC and Project 3D Printer - Pictures of current Works in Progress

Progress pictures on CNC mill:
Planning changes in configuration of CNC mill:
     A.) Secure Y-axis directly to base
          1.) designed supports in Inkscape
          2.) need to finish in Makercam and cut out the new pieces from HDPE cutting board
     B.)  Change "waste board" to Poplar board leveled to machine with T-Slot rails for securing
           work pieces, will need to route areas for the rails to fit flush to the leveled board.
 
T-Slot pieces with 1/4" screws and Thumb nuts for workholding
Progress on 3D-Printer Build:
Left side of Z-axis

Left side of Z-axis with stepper and linear bearings

Top is Lft, side of Z-axis, middle is X-axis shuttle, bottom is Rt. side of Z-axis
Overall Frame
Cuts made in bottom of frame to allow travel of Y-axis and Y-axis belt
Cuts in frame, in above picture were done by hand with a Pull Saw (sawdust from cuts still visible).

Left side is initial test cut, Right side is corrected dimensions
 In trying to design a direct drive feed to my printer hot end I ended up having to take an experimental approach.  Initially I designed and cut what I thought I needed (using Inkscape and my CNC machine) and after test fitting and a few redesigns I came up with the part on the right (3 separate layers fused together with M.E.K.)
With bearing attached


Showing path cut for feeding Filament
 My objective was to have a hole drilled through this piece for filament but due to clearances, stepper shaft length, length of fitting for stepper shaft, bearing size... etc, I ended up having to mill a path through the top layer of the piece deep enough for the filament and then fuze a layer of acrylic over top of the piece.

Showing thickness of piece


How PLA filament feeds through


Bolt ground down to fit against stepper motor